Follow Me...

       
Thanks for stopping by! Don't forget to subscribe!
Showing posts with label Mini Album. Show all posts

Monday, April 27, 2015

Fairy Bell Shabby Chic Mixed Media Mini Album

7
 
 
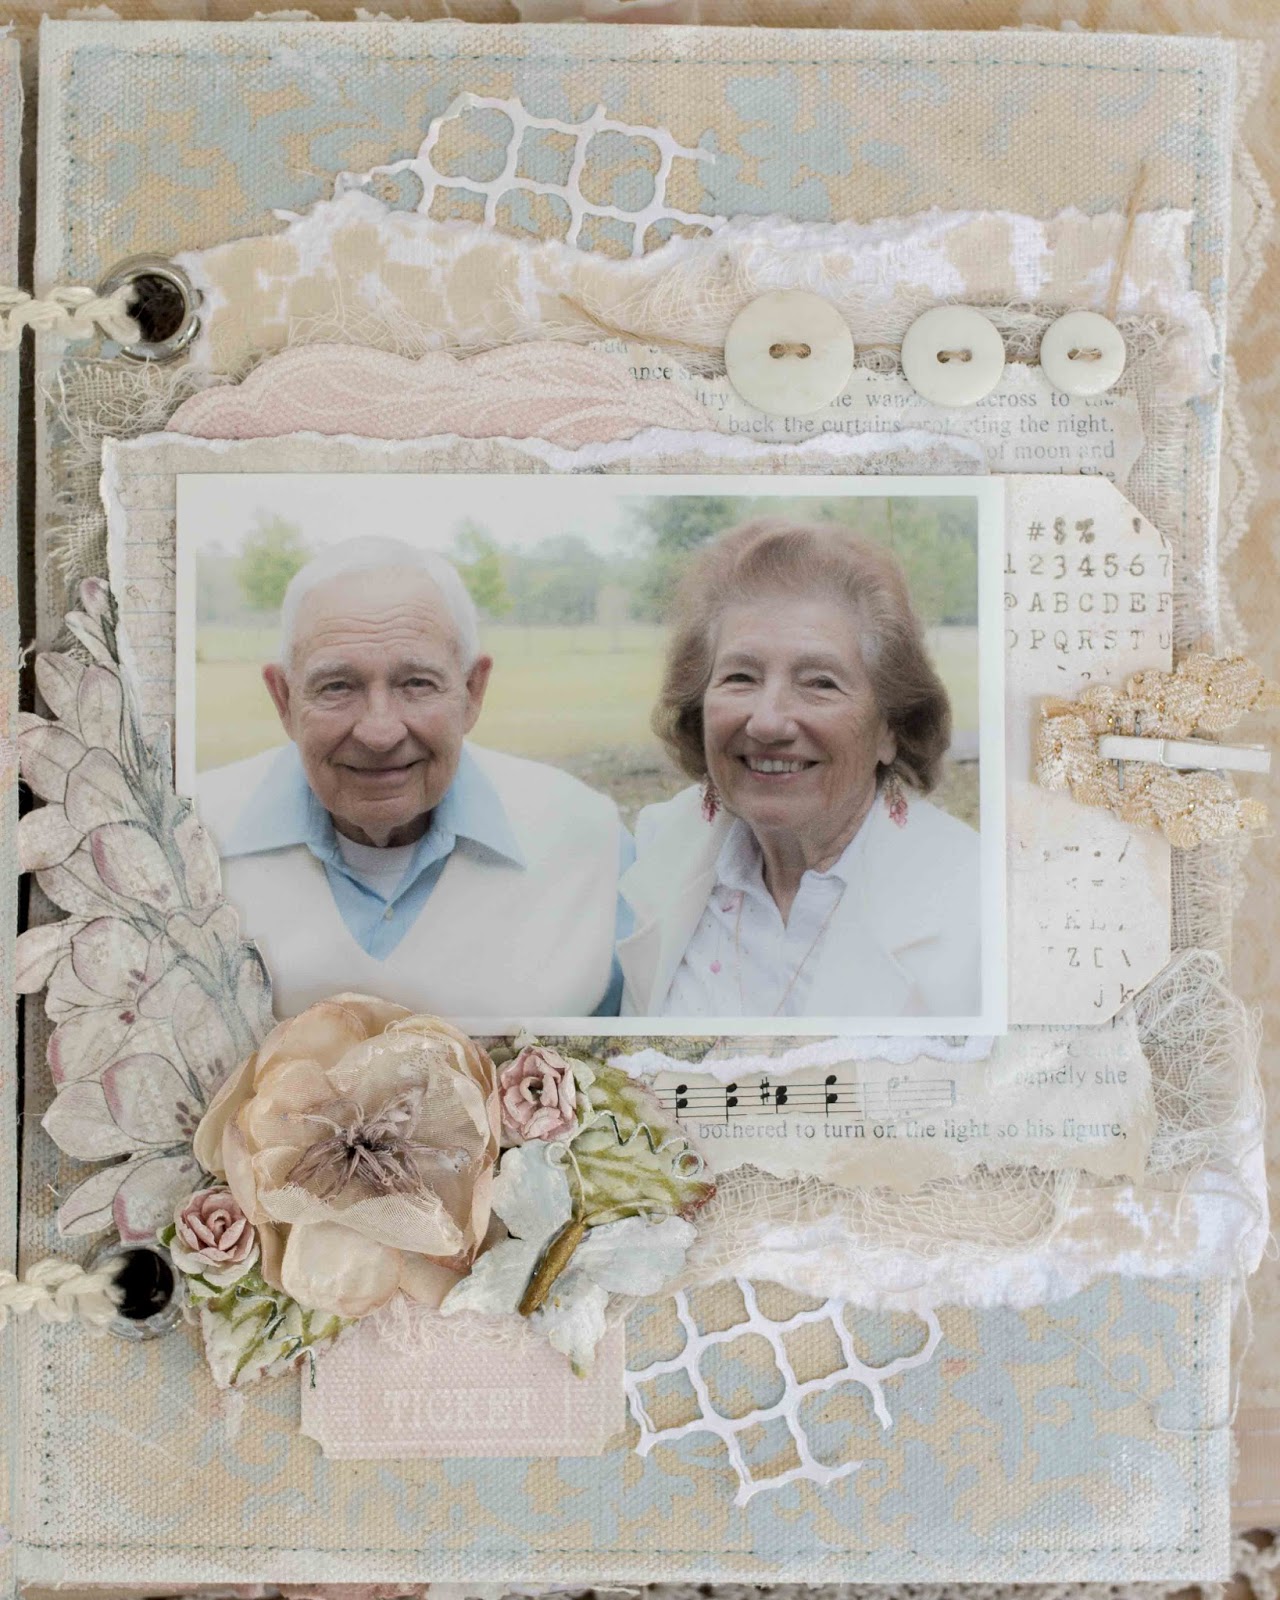
I absolutely love Easter!   Spring is in the air, the weather is amazing, and all my cute little nieces and nephews are all dressed up and ready for fun! This year, I  decided to create a shabby chic mixed media album for my favorite Easter photos.  The concept for this mini was texture and lots of it!   I wanted it to stay soft and elegant, but tattered and frayed. 
 
 
My base album is the Prima Canvas album.   I selected the Prima Fairy Bell collection because it has lots of spring elements and maintains my Shabby Chic style. Nestled on each page, are a collection of Prima embellishments including flowers, canvas resist pieces, butterflies, trinkets, metal, and trims.  I also gathered some random supplies of misc.  lace, burlap, muslin, doilies, hymnal pages, and vintage book pages.   I kept everything in soft neutral tones, so that the colors of the Fairy Bell papers could become dominate.   
 
 
I used a Prima Vintage Trinket Closure across the side of the mini album to keep it secure.  I love how the bobbles dangle from the closure.  Look at all that yummy texture peek-a-booing from the edges of the pages.
 
 
Here are some photos of the inside of the album...


For the last page, I decided to create a tag that was topped with a canvas resist key and a beautiful seam binding bow.   This tag is the "KEY" to the album.  


The cover of the tag is the title  and the back has a list of numbers which represent each page, then the name of the person featured on the page. 


I hope you like this cute mini and I've given you some ideas on how to create your own beautiful album. This would make a perfect Bridal or Baby gift as well! 
 
Thanks for stopping in today,
 
Tonya Gibbs
 
 
Supplies:
Prima Marketing - Jodie Lee Fairy Bell  12x12 Paper Collection
Prima Marketing - Doily Stencil #564247
Prima Marketing - Finnabair - 6x6 Damask Stencil  #960551
Prima Marketing - Canvas Mini Album
Prima Marketing - Flowers White Wildflowers Pillar
Prima Marketing - Flowers Serenade C
Prima Marketing - Canvas Resist Banners & Tickets
Prima Marketing - Canvas Resist Printery Collection
Prima Marketing - Canvas Resist Songbird
Prima Marketing - Shabby Chic Treasures Metal - Birdcage
Prima Marketing - Shabby Chic Treasures Resin - Fly Away
Prima Marketing - Shabby Chic Treasures Metal - #890865 (frame)
Prima Marketing - Shabby Chic Treasures Resin - La Coeur
Prima Marketing - Finnabair - Art Ingredients Glass Beads Crystal
Prima Marketing - Finnabair - Art Ingredients Glass Glitter Sterling
Prima Marketing - Butterflies Collection - Butterfly Embellishments - Fluture
Prima Marketing - Mini Roses
Prima Marketing - Leaves
Prima Marketing - Finnabair - Vintage Trinkets
Prima Marketing - Flowers Kennedy Collection
Prima Marketing - Bretton Vines Purity
Prima Marketing - Closure #930059
 
Read More »

Monday, June 30, 2014

Adventures with Boo Mini Album

1
Hi you guys, the Marion Smith Designs creative team has compiled a collaborative post filled with Mini Album inspiration today!

For my contribution I created a small mini 3.25 x 4.5 inches long.  Where I have  documented the past year with my sweet Puppy Boo.  I know everyone is going to ask -  She is a BoxWeiler (Boxer Rottweiler mix).   We adopted her last Christmas and the past 6 months have been so fun watching her grow.

 
This box was inspired by Marion's Digi line Life Journal.   I used the Insta frames in the line to create pages.  I trimmed down pieces of Marion's printed lines and her Scarlet digi line to fit the size of the frames.  Then I Coptic stitched the book together.  Since my stitching was not so perfect, I decided to use a piece of lace to wrap around the spine.  This lace also softens the harsh edges of the spine. I used Marion's peony die, and bloom impression tool to create the flower on the cover.   Then cut flowers from the Motley papers to add a little depth. 

 
This is the perfect size book for your Instagram photos.  I printed my photos out on my color laser printer on cardstock.   I kept the design simple so that my photos really took center stage!
 
 
Here is a complete walk through video showing each page!


 I love this little mini, and I know it will be treasured in my family for a long time.  
 
Read More »

Wednesday, June 4, 2014

Urban Market Mini Album FAQ

0
WOW -  the response to this mini album has been super overwhelming. Everyone is really enjoying playing along with me.   I have had a lot of fun myself.


We had some great questions on the last follow up post.  SO I hope I can answer them here!

  1. Julie asked:    Thank you for class last night. The photos here are lovely - shows the colors up so much better than the live broadcast. Each page has its own beauty. You mentioned in the video and on here that you would discuss alternatives to binding (although I do have the cinch I am open to other suggestions too) but I think we must have run out of time. Maybe you are thinking of doing that in your update posts. Anyway - thanks again.
I'm SOOOO SORRY  I didn't bring this up that night. I think my brain was so overwhelmed, and  I JUMPED right into creating the pages.   
Solution 1:  I found this awesome video by my Friend Tracy - From Tracy's Treasures 24 on YT.   Called "NO BIND IT ALL - NO PROBLEM!" 
Solution 2:   Use your hole punch and just use jump rings.  Here is a quick 5 hole cutting guide that I created for you! 


  1. Claire aka zanysisters  asked:   Tonya, As I said in my comment on Scrapbooking with ME, last night's class was fabulous. I do have a question. I don't have have any kind of large die cut to use on the Dots paper. I can make do with border punches for the other bracket pieces. I am kind of at a loss for a solution. Any suggestions? Thank you so much 
Solution:    There are lots of options for achieving this look,  Cricut has some, as well as the Silhouette.  But if you don't have an kind of electronic cutting systems, then I have prepared this PDF with a comparable shape.   You can Download it here!    Print this out and cut along the black lines,  then use this shape as a guide for cutting your paper.  
  1. If you missed the live class - you can watch the videos here.   Remember that you don't have to purchase a kit to follow along.  You can substitute these products for things that are in your stash.  I always encourage you to use what you have.  Look in your supplies and see if you can find things that are comparable! 

Part 1 of the Ustream

Part 2 of the Ustream


If you are playing along with us, please make sure you post pictures to the Scrapbooking With M.E. Boutique Members Facebook group so we can see your version of the album.  #TonyaGibbsJuneUstream in other social media outlets so I will be able to find it! Check back on Friday for a follow up post with additional page embellishments.
Thanks for stopping in today,Tonya
Read More »

Monday, June 2, 2014

Ustream Tonight - June 2 PREP GUIDE

2
Oh I'm so excited about tonight's class at 8:30 p.m. EST.  We are using Teresa Collin's Urban Market Collection. Tonight's show is sponsored by Scrapbooking With M.E. Boutique.  I hope you can join us live the Boutique is planning to host a give away! You do not need to purchase a kit to come enjoy the class.  We have lots of fun chatting with friends, and learning new tricks and techniques.  What a fun way to kick off the first Monday of the month.  If you can't join us live - never fear -  you can catch up on the recording.  A recap post will be posted later in the week. 


This kit had so many yummy goodies, that I decided to create a little mini book.  Since we only have 1.5 hours live - I decided to go ahead and give you guys some homework! 


Here is a walk through video of the mini book. 


As an added note -  I went ahead an bound my book with my Cinch.  If you don't have a Cinch, or Bind It All, We will discuss other options for binding in the class.  In the video I said Don't bind, but you can if you wish!


I hope you guys can join me. It is going to be so much fun! 

Thanks 
Tonya 
Read More »

Sunday, March 2, 2014

Hybrid Burlap Mini Album - by Tonya Gibbs

1
Hi everyone, I hope you are having an awesome weekend.  I made a little 6x6 burlap mini album in just a few hours, and thought I would share it with you today.  I used  Marion's Scarlet Digitals  along with some odd and end scraps from her Mad Tea Party and Nirvana printed lines.  I love how her printed lines and digi lines compliment each other perfectly! 


I added lots of yummy layers to the cover. A few months ago I shared a tutorial on how to make the flower, and I love how it coordinates with the roses in her papers.
 
 
For the inside I used one of Tim Holtz' binder mechanisms and 4x6 photo sleeves.


Pull out those punches and dies for projects like this.  They help to add a little interest to photo mats, and make great layering elements.


The journal pages are from some of Marion's Primrose printable. I fussy cut the rose and added it to the far right so it would match the rest of the papers.
 
 
I love how this file folder serves as a pocket on one of the pages.
 
 
Tags are a great way to add multi-level pages.  Tabs also offer interest sticking out of the margins.
 
 
I used some of the ATC sized note cards from her Nirvana collection to give an extra journal spot. 


The photo sleeves will offer protection for my photos, and give a nice clean finished look to the album.
 
 
This was a super fun project, and I just love it, when you can marry a bunch of itty bitty scraps, to create fabulous layers.   This little mini is going to make a gorgeous gift for one of my scrappy buddies. 
 
Thanks for stopping in today,
 
Read More »

Friday, February 21, 2014

7GYPSIES Disney Travel Mini

0
Last year I  took a trip to Walt Disney's Epcot & Animal Kingdom in Orlando, Fl., and I wanted to create a journal style mini album that could capture not only the pictures of the "aha" inspiring landscape, but my thoughts and notes.  I wanted to make it like a travelogue that had gone along the journey with me - eclectic and worn - gypsy style.
 
7Gypsies Travel line was perfect for my base papers and a bit "non - traditional" for Disney style books. I gathered up several lines of 7Gypsies ephemera, tapes, charms, and stamps, threw in some Canvas Corp tags, recipe cards, and clothes pins. Grabbed some essential Tattered Angels Glimmer Mists and the book was born.  The finished book size is 4.5 x 6 which is great for standard sized photos.


As an added accent, I also created circle and tab tags in Photoshop to accent the folders. I love how things stick out from the margin, and entice you to turn the page. I also did a lot of hand written journaling in this book. My handwriting may not be perfect to me, but I think it really adds character to the book.
 
 
I often spell Gorgeous "Gorjuss" when I text or type it on Facebook, so I wanted my accent in the upper left to reflect the "Tonya" spelling. This adds a little bit of my character to the details. In the bottom right hand corner of the page above there is a clay piece that says "Air Mail". This was created with air dry clay and a 7Gypsies stamp! 


In the photos above and below, I used scraps from 7Gypsies papers to create interesting flags and banners. I love how these pop, and add a feminine accent to the pages.


Doodling with a white gel pen, adds a even more interest. Some of my doodles are loops and some faux stitching. Love how it helps to soften the dark background.


In this spread above - I use recycled clear plastic packaging to create a signature divider.  I used Tim Holtz's distress paint in Firebrick to create a design on the plastic.  I love how you can see the garden photo below, and it gives a degree of depth to the spread.


When traveling don't forget to take photographs of signs.  They are everywhere, and when printed on card stock, they turn into cute ephemera pieces.  Like the sign that is in the bottom right of the photo above was in a flower garden and says "Epcot Springs into life."  The sign below that says "Thanks for Noticing Me" was on a sidewalk path.  When traveling to national parks, the signs often give historical facts, directions, and wildlife details. A photograph is a great way to remember these details for your journals, mini albums and scrapbook pages.


Nowhere but Disney could you wake up in America and visit 9 different countries before sundown. I literally traveled the entire world in 2 days!     This was such an inspiring journey!  I love all the elements poking out of the margins, giving a "Gypsy" feel to my finished book.


Thanks for stopping in today,
 
Tonya Gibbs


Read More »
I love seeing things you create using my tutorials or project shares. Please use the following handles/tags in social media to insure that I get to see your creations:

INSTAGRAM: #FollowingTonyaGibbs    |   TWITTER:  @gibbst    #FollowingTonyaGibbs   |      FACEBOOK:Tag  Tonya Gibbs   #FollowingTonyaGibbs

I Design for:

    http://www.yvonneblair.com

Guest Artist: Click icon to see post!

http://www.teresacollinsdesignteam.blogspot.com/2013/10/family-stories-layout-and-video-by.html#comment-form   http://canvascorp.com/2013/03/21/easter-treat-baskets/


Past Teams

http://www.die-namites.com/     marion