Hi everyone, I hope you had a fantastic weekend, today is my first post over on Yvonne's blog. Have you seen Yvonne's new stamp release this CHA2016? I have to tell you her blog is going to be buzzing with tons of inspiration this year. Her stamps are fantastic and LARGE enough for art journals, but small enough for cards. I just LOVE them! I love that you can order these stamps in one of three mounts - Wood Mounted, Cling Mounted or Plain Rubber. This makes them perfect for your style of stamping! I'm featuring four of Yvonne's new stamps today with Impression Obsession. I created this canvas using 4 of her stamps from this year's release:
I hope you have a minute to go check it out. I created this gorgeous canvas. There is also a process video over there for you showing several techniques including how I created a clay embellishment using one of her stamps.
Happy Independence Day to my fellow Americans. Today I wanted to bring you a little canvas that I created yesterday for the Gelli Arts® Stars and Stripes Challenge.
I've prepared a step out process of how I did the background image.
Step 1: You want to use full bodied paints for this project, because they allow you more time to work since they dry slower. Start by braying on the red. Tape off your flag with masking tape. Don't forget to tape off the star section in the upper right hand side of the plate, so that when you pull the print the stars on the left. I'm using a 110lb white cardstock for my print, and an 8x10 Gelli Arts® Gelli® Plate.
Step 2: Create your star background. I started by painting a 3x5 Gelli® plate with Ultramarine Blue Paint. Then using the Crafter's Workshop Balzer Designs Mini Punchinella stencil, I removed paint through the stencil with a baby wipe. The stars only cover the bottom section of the plate, so I moved the stencil up and repeated this step for the top area. I know there are more stars here than are needed for an American Flag. But the general concept was here, and I felt it too overwhelming to count out 50 stars, JUST go with it! (LOL) . Also note: It is not necessary to use the 3x5 plate for this project. You could use any size plate that you have, and easily use the taped area as a guide from the previous step. But I had this plate so I decided to use it.
Step 3: The photo above is what the plates looks like after the stars are lifted. Using the plate like a stamp, press it into the area on the print you pulled of the stripes.
I just love how this flag is starting to look. It is rough - but that is really what gives it character.
Step 4: To help the stars really stand out, I applied a coat of Texture Paste from Prima Marketing. This paste must dry before going to the next step. When it is dry, the paste crackles leaving my stars looking more distressed and yummy!
Step 5: Sorry there is no photo for this step - but I added a thin coat of Matte Medium to the entire paper. NOTE: Use Matte Medium, because it is looser than Gel, and you can get a really fine coat. Allowed it to dry before going to the next step.
Step 6: Make sure your print is dry from step 5. Then crumple it into a loose ball. Then flatten the paper out again, to see the texture. Clean off the 8x10 Gelli® Plate.
Step 7: This step will create a stain for our flag. Bray on some light brown paint with yellow ocher, and Golden Acrylic Glaze. Pull another print directly onto your flag. Be sure to press firmly so that the glaze gets past the crinkles in the paper. Sorry I forgot to get a picture, because I had to work super fast and my hands were messy. But I promise, this will look super scary. The entire flag will be a horrible brown color. Allow the glaze to sit for about 30 seconds, Then using baby wipes, begin to remove the brown color. This glaze will stick to the cracks in the stars, and around the negative areas of the stars, and along the crinkles. JUST LOVE THE LOOK!
Step 8: Look at how beautiful my flag looks. I trimmed it down to an 8x10 removing the boarder around the outside. To make your stripes white again, simply apply gesso with a cosmetic sponge. Don't worry with the red or blue, because the off color helps the red and blue areas look antiqued.
Step 9; I prepped an 8x10 canvas with Matte Medium, then applied my flag to the top. Squeegee it well with your fingers, and press hard to make sure there are no air bubbles. I also applied the Matte Medium to the top of the flag.
Then comes the OOPS! That little opportunity for additional embellishment!
Step 10: Never fear! This actually turned out to be a blessing. I combined the Matte Medium with some of the Ranger Tim Holtz Distress Stain in Vintage Photo and painted it into the areas where the paper had peeled back. NOTE: Mixing the Matte Medium with the Distress creates a varnish and seals the distress so it doesn't run when liquid is applied. Now my flag looks as if it were painted onto wood. Once the entire Flag was completely dry! Then take an archival or permanent ink pad in brown in and lightly rub it over the surface of the flag to further enhance the texture.
All that is left is to embellish the flag - unfortunately I did not have time to create a process video and do the editing. So I do not have the step outs for that process. But if you have followed me for a long time, you will know how I did everything in the embellishment clusters, as it is techniques that I use often.
In this video - I will talk you through the embellishment clusters and other details about the canvas.
Here are some close up photos of the other sections of the canvas.
I decided to use Psalm 33:12 for my chalkboard: "Blessed Is The Nation Whose God Is The Lord." I used chalkboard paint to paint a piece of foam board. Several coats were needed. Then I sketched my design with a pencil, and traced over it with a White Gel Pen from Marvy. Allow the ink to dry, then spray with a fixative. I used Clear Acrylic Spray Paint to add a fine mist to protect my drawing.
The Hymnal I chose was "God Save America" by William G. Ballantine The second verse really spoke to me, and I wanted to include it. "God Save America! Here may all races mingle together as children of God, Founding an empire on brotherly kindness, Equal in Liberty made of one blood! "
You can really see the texture in the stars. I used a pair of old Jeans and the Tim Holtz Jumbo Tattered Floral's Die from Sizzix to cut out flowers for my embellishment cluster. Then of course I added my mixture of Finnabair - Clear Beads and Glass Glitter to Glossy Gel Medium to fill in and add a little sparkle.
Thank you so much to the men and women who serve this country in the military, and to the loved ones whom lived without them while they served for our freedom. Your selfless acts have given us our freedoms.
To get more details about the Gelli Arts® Challenge, please visit their Facebook wall! Thank you for visiting.
Now I'm signing out to go celebrate the 4th!
Tonya
SUPPLIES:
Gelli Arts® - 8x10 Gelli® Plate
Gelli Arts® - 3x5 Gelli® Plate
Speedball - Brayer
Daler Rowney - Acrylic Full Bodied Paints - Ultramarine Blue
Daler Rowney - Acrylic Full Bodied Paints - Light Brown
Daler Rowney - Acrylic Full Bodied Paints - Yellow Ochre
Daler Rowney - Acrylic Full Bodied Paints - Scarlet
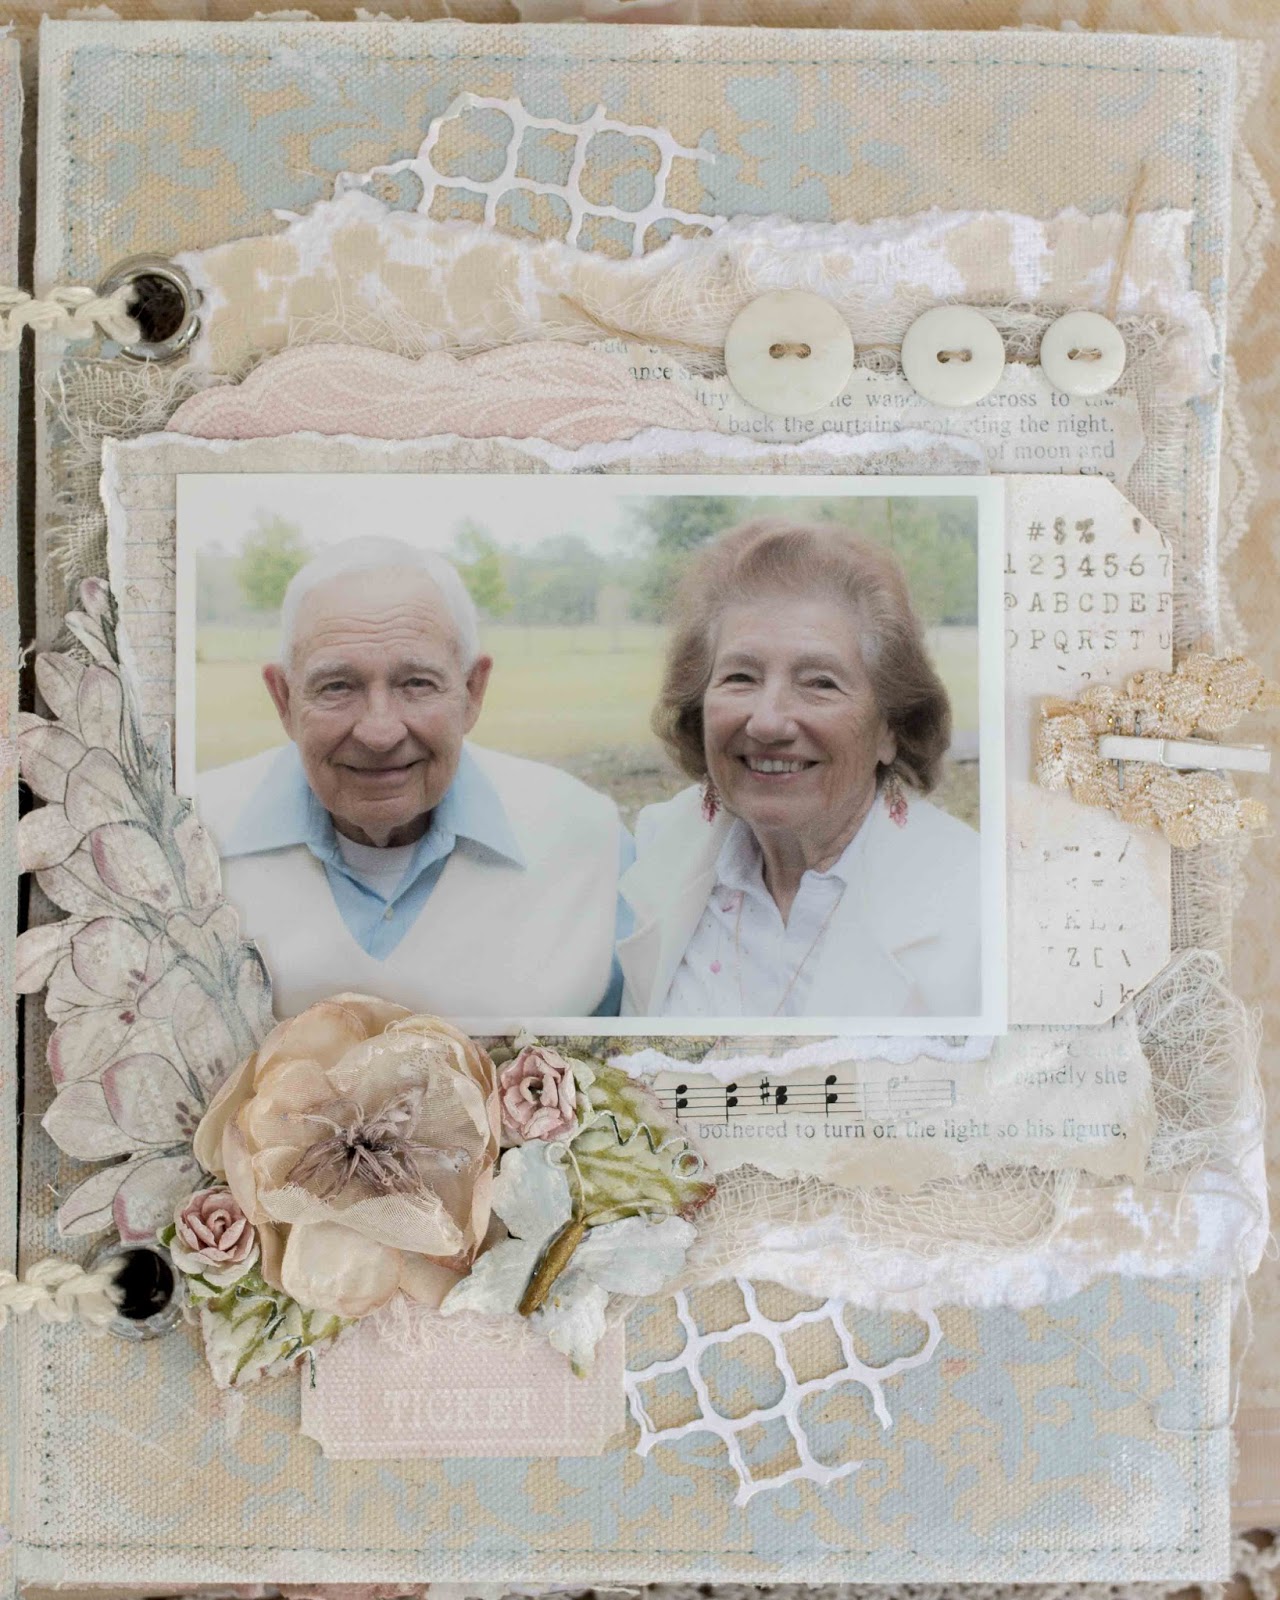
I absolutely love Easter! Spring is in the air, the weather is amazing, and all my cute little nieces and nephews are all dressed up and ready for fun! This year, I decided to create a shabby chic mixed media album for my favorite Easter photos. The concept for this mini was texture and lots of it! I wanted it to stay soft and elegant, but tattered and frayed.
My base album is the Prima Canvas album. I selected the Prima Fairy Bell collection because it has lots of spring elements and maintains my Shabby Chic style. Nestled on each page, are a collection of Prima embellishments including flowers, canvas resist pieces, butterflies, trinkets, metal, and trims. I also gathered some random supplies of misc. lace, burlap, muslin, doilies, hymnal pages, and vintage book pages. I kept everything in soft neutral tones, so that the colors of the Fairy Bell papers could become dominate.
I used a Prima Vintage Trinket Closure across the side of the mini album to keep it secure. I love how the bobbles dangle from the closure. Look at all that yummy texture peek-a-booing from the edges of the pages.
Here are some photos of the inside of the album...
For the last page, I decided to create a tag that was topped with a canvas resist key and a beautiful seam binding bow. This tag is the "KEY" to the album.
The cover of the tag is the title and the back has a list of numbers which represent each page, then the name of the person featured on the page.
I hope you like this cute mini and I've given you some ideas on how to create your own beautiful album. This would make a perfect Bridal or Baby gift as well!
Thanks for stopping in today,
Tonya Gibbs
Supplies:
Prima Marketing - Jodie Lee Fairy Bell 12x12 Paper Collection
Prima Marketing - Doily Stencil #564247
Prima Marketing - Finnabair - 6x6 Damask Stencil #960551
Prima Marketing - Canvas Mini Album
Prima Marketing - Flowers White Wildflowers Pillar
Prima Marketing - Flowers Serenade C
Prima Marketing - Canvas Resist Banners & Tickets
Prima Marketing - Canvas Resist Printery Collection
Prima Marketing - Canvas Resist Songbird
Prima Marketing - Shabby Chic Treasures Metal - Birdcage
Prima Marketing - Shabby Chic Treasures Resin - Fly Away
Prima Marketing - Shabby Chic Treasures Metal - #890865 (frame)
Prima Marketing - Shabby Chic Treasures Resin - La Coeur
Prima Marketing - Finnabair - Art Ingredients Glass Beads Crystal
Prima Marketing - Finnabair - Art Ingredients Glass Glitter Sterling
Prima Marketing - Butterflies Collection - Butterfly Embellishments - Fluture
A few months ago we moved into a new home, and I've been frantically nesting, trying to add a few personal touches here and there. Today I would like to share with you a chalkboard that I created. I started by painting the glass in a 16x20 frame with Prima's Chalkboard Paint. I painted 4 coats, allowing the paint to dry between each coat.
The quote that inspired this project is:
"Hope is the anchor, love is the ship, time is an ocean and life is the trip."
I found this Chipboard anchor and thought it would be great to alter it for the side of the frame. I decided to add elements to the anchor that represent the quote on the chalkboard.
I started by covering my anchor with Prima's Jodie Lee Nature Garden Collection Fairy Godmother" the b-side. I then began to add color and texture by spritzing the anchor with Prima's Color Bloom sprays Antique Gold & Storm Cloud then I added Utee to the top and heat set. I love how my anchor now looks like corroded metal.
To represent "time" in the quote. I decided to Use the Prima Finnabair Mechanical Clock with a Prima Wooden clock inside.
The ship on Prima's Seashore stamp is adorable! I decided to create a 3D ship using this stamp.
I stamped it on sticky backed canvas, and chipboard several times, then used foam strips to assemble pieces until I had a great 3D effect. Isn't this ship just the cutest? It would be adorable on a layout or card as well! To keep the canvas from fraying I brushed a quick coat of Gel Medium over the top.
To finish off my anchor I added the Prima Cherry Blossom Vine (removing the flowers), the Capri Merlot Burlap Flowers and the Oahu-Hula flowers. To fill in around the clusters, I added some shells that I recently found on a trip to the beach. I love how the flowers mimic the texture found in the shells.
I added some rope around the frame to give it a little interest. I used the Finnabair Art Ingredients Mica Flakes Gold Leaf to fill in the negative spaces around the shells and flowers.
Here is my finished chalkboard.
I hope I have inspired you to create a beautiful chalkboard for your home.
Thanks for stopping in today,
Tonya Gibbs
Supplies:
Prima Marketing: Chalkboard Paint - Black
Prima Marketing: Color Bloom - Antique Gold
Prima Marketing - Color Bloom - Storm Cloud
Prima Marketing - Jodie Lee Nature Garden Collection Fairy Godmother"
Prima Marketing - Seaside Stamp
Prima Marketing - Cherry Blossom Vine
Prima Marketing - Oahu, Hula Flowers
Prima Marketing - Capri - Merlot Flowers
Prima Marketing - Finnabair Mechanicals - Vintage Trinkets - Clock
Prima Marketing - Finnabair Art Ingredients Mica Flakes Gold Leaf
Wow what a great show last night on Limor's Ustream Channel. I met some new friends, and we had a lot of fun creating these cute little Mini Canvas Bags...
In the show I used Limor's Signature products from Lindy's Stamp Gang and IndigoBlu to create these adorable treat bags. Here is a link to the recording in case you couldn't make it to the show live.
Be sure to watch the show for a coupon code worth 20% off at LimorWebber.com sale ends Friday, April 3rd. Reminder - coupon code must be entered in ALL CAPS.
If you decide to create these bags, please make sure you #LimorWebberDesigns in social media so that we can find it. You can also #FollowingTonyaGibbs.
Thanks again for your support and for hanging out with us. I hope you have been inspired today!
Tonya
SAVE THE DATE - MONDAY APRIL 6, 8:30 PM EST My next Broadcast on My Ustream Channel will be Monday, April 6. We will be creating a layout using those brand new Easter pictures. I hope you can make it to the show at 8:30 p.m. EST on http://www.ustream.tv/channel/gibbst
Thanks to everyone who came out to watch the show live last night. Also a special thank you to Scrapbooking With M.E. Boutique for sponsoring this event, providing kits and hosting giveaways. Make sure you stop by their blog and show your appreciation!
Here was the kit for last night's show
Congratulations to Jill Gallagher for winning the
Die-Namites Large Ivy Die that we used on this canvas!
The canvas turned out fantastic. Here are some detailed photos. Despite the glitches in Ustream we had a lot of fun!
Look at all the textures here on this cluster.
Here is a playlist with ALL 5 Video clips. I am sure there are some parts missing, but that's Ustream. We are looking for another avenue for broadcasting. We will let you know if that happens before the next show.
Save the Date - our next Ustream is scheduled for August 4 Kits are up and I think there are only a few left. We will be featuring products from Faber-Castell Design Memory Craft® and creating mixed media cards. Here is the link to that kit!
Thanks again to everyone, we had an amazing time last night. Don't forget if you create something based on one of my tutorials or techniques please post with the #FollowingTonyaGibbs. This will insure that I see your work!
Tonya Gibbs
****************
SUPPLIES FOR THIS CANVAS Kit Supplies:
Authentique Collection Kit ~ Harmony 12"X12" Collection Kit Includes: 12 double-sided patterned papers, Details stickers, Petite Type alpha stickers, Petite Diction stickers and Components die-cuts.
HI everyone, over on Marion's blog a few weeks ago I was asked to do a tutorial for making Rosebuds. For my blog post today, I have given a step out tutorial on creating these rosebuds.
I used Marion Smith Designs Bloom Impression Dies - Large Roses, Glue Dots®, and Tattered Angel's Sunshine Glimmer Mist for my roses.
I hope you have fun making these rosebuds. If you do, please share your projects with us in social media by using the #MarionSmithDesigns #BloomImpressionDies
I love seeing things you create using my tutorials or project shares. Please use the following handles/tags in social media to insure that I get to see your creations: