Follow Me...

       
Thanks for stopping by! Don't forget to subscribe!
Showing posts with label Journal. Show all posts

Monday, February 13, 2017

Blessings Journal for Yvonne Blair Designs

0
Blessing Journal Designed by Tonya A. Gibbs for Yvonne Blair


Hello mixed media crafty peeps how are you today?  With all the uncertainty in the world today, I decided to create a Blessings journal to help me focus on all the wonderful things that happen in my daily life.  It helps to center me, and serves as a daily reminder that God is in control of all things! 

Let me walk you through my process for creating this journal using these awesome stamps from Yvonne and Impression Obsessions!   As always I've linked them up to the Impression Obsessions' online store, but shop your local retailers if you have one!


http://www.iostamps.com/mm5/merchant.mvc?Screen=PROD&Product_Code=D17166&Store_Code=IOSTAMPS&search=D17166&searchoffset=&filter_cat=&PowerSearch_Begin_Only=&sort=&range_low=&range_high=

http://www.iostamps.com/mm5/merchant.mvc?Screen=PROD&Product_Code=L17103&Store_Code=IOSTAMPS&search=Wirly+Vine&searchoffset=&filter_cat=&PowerSearch_Begin_Only=&sort=&range_low=&range_high=


http://www.iostamps.com/mm5/merchant.mvc?Screen=SRCH


 http://www.iostamps.com/mm5/merchant.mvc?Screen=SRCH

Inspiring this entire project was Yvonne's stamp! Thank You God.  Have you ever been doing something in your life and just knew God had his hand in that moment in your life?   When I saw this stamp I knew I wanted to create this journal. 


I have a few of these dollar bin journals laying around my craft room that I keep on hand for note taking and decided to use these for my base.  They come in handy for these types of projects and are very inexpensive. NOTE: I usually pick them up at the end of the season when they clearance them out since I generally alter the covers anyway!   

Blessing Journal Designed by Tonya A. Gibbs for Yvonne Blair

To give the outside of my journal a nice rich color and feel, I used created a mono-print to create the background image, on a piece of bleached muslin fabric, once everything was dry I did some sewing on around the edge of journal. This keeps everything in place over time, but it also adds texture. Dropping gold Liquitex Acrylic Ink, and spraying the entire journal with Heidi Swapp's Gold Color Shine adds a richness to the final journal.  I encourage you to pull out your stamps, stencils, inks, and paints and enjoy a little creative play. This was so much! 


Blessing Journal Designed by Tonya A. Gibbs for Yvonne Blair

 
This next step you can do after the book is filled with memories or before, or before.  I love how it inspires me!  I went into my little bucket of left overs and created a beautiful cluster.  Sprinkled a little seed beads and sequins to add sparkle, and topped my sentiment with a prima clay cherub piece.  Isn't this just a beautiful book. It would make a great Secret Sister gift or Prayer Partner book.  You could also switch out the sentiment and use the book for a number of other occasions as well.

Blessing Journal Designed by Tonya A. Gibbs for Yvonne Blair
 
Thanks for stopping in and hanging out with me today!  I hope I have inspired you to a create a Blessings Journal to remind yourself of the tiny little miracles that happen in your own daily life. 
Read More »

Monday, June 8, 2015

Gelli Print Journal Page 2 - Wonderful

7


I'm having a great time working in my little Gelli® Print book.  We created this book and the gelli prnts in the Ustream on June 1, 2015.  If you missed the ustream, or just want to watch it again, I will link it up at the end of this post. 


This print was actually pulled on a piece of Kraft paper bag.  I just love how vibrant the acrylic paints look on the kraft paper.   So fun!  

I used one of the butterflies from the Ustream as a focal point on this spread.   Adding a little pink paint to the wings, helped give it contrast against the flowers.  There are LOTS of doodles on this spread too.   After I thought to use the butterfly, I decided to turn the circles into flowers as well.  Doodling spirals in the centers of the flowers helps to fill in the negative spaces of the giant centers. 


When you watch the video, you will see I had a few Uh OH moments. That's ok, and I think that this is really the environment for experimenting and finding out what you like or don't like. Embrace those moments, and make them work for you.   The title of this spread was taken from a Tim Holtz stamp set "Phrases 2" and really helps to reinforce this mindset. "Life doesn't have to be perfect to be wonderful!"  I truly believe that!  Happiness is sometimes found on the other side of an UH OH ;) 

Here is a process of video of me completing this spread. 


Thanks for hanging out with me today, 

Tonya 

Supplies: 

  • 8x10 Gelli Arts® Plate
  • Plaid  Apple Barrel Acrylic Paint Various Colors, Kiwi, Yellow Fame, Pink Parfait, Jack O'Lantern, Bimini Blue. White, Black
  • Brayer
  • The Crafter's Workshop - Balzer Designs Chevron Stencil 12x12
  • String
  • Various Disposable Cups (in different sizes)
  • Die-Versions Whispers Background - Hexagons   
  • Die-Versions Whispers Background - Morocco
  • Die-Versions Whispers Background - Bubbles 
  • Cosmetic Sponge
  • Martha Stewart Butterfly Stamp
  • Faber-Castell Design Memory Craft® - Gel Medium
  • Faber-Castell Design Memory Craft® - Stamper's Big Brush Artist Pen - Pink Madder
  • Faber-Castell Design Memory Craft® - Stamper's Big Brush Artist Pen - Cold Grey VI 235
  • Uni-ball Jetstream Bold 1.0 mm
  • White Geli Roll Pen
  • Kraft paper
  • Tim Holtz - Stamper's Anonymous - Ultimate Grunge Stamp 
  • Ranger Ink, Archival Ink Pad - Jet Black
  • Tim Holtz - Stamper's Anonymous - Phrases 2
  • Sharpie - White Fine Point Paint Pen


Read More »

Tuesday, June 2, 2015

June 1 Ustream Follow up Gelli Prints

9

Hi everyone, thank you so much for those of you who came to watch the show live last night.  I had a lot of fun playing with my Gelli Plate. It was a great night of total creative freedom!  


In the promo, I promised a night of inky finger fun, and  from this photo of my hands, looks like Mission Accomplished. My husband thought I was becoming a Smurf (LOL). 

I used the 8x10 Gelli Plate to pull prints on Hymnal Pages, Cardstock, Printer Paper, Muslin, Kraft Paper, Index Cards and even Canon Warranty Newsprint.


Here is a link where you can purchase a Gelli Arts® plate.   I recommend biting the bullet and just getting the 8x10. However, if that is too overwhelming,  then I would say the 5x7 is great beginner size. Then your prints can be used for cards and tags.   Anything smaller can become frustrating.  (In my opinion). 


Paints -  I used an assortment of Apple Barrel Acrylic Craft Paints (list of colors used are in the supplies below).  Anything goes, pick your favs, just don't forget a white, and black to go with your selections.   You can really use any type of ink or paint (fluid or full bodied) that you wish. Even spray color mists work great.  I would avoid permanent inks since they may stain your Gelli® Plate. 

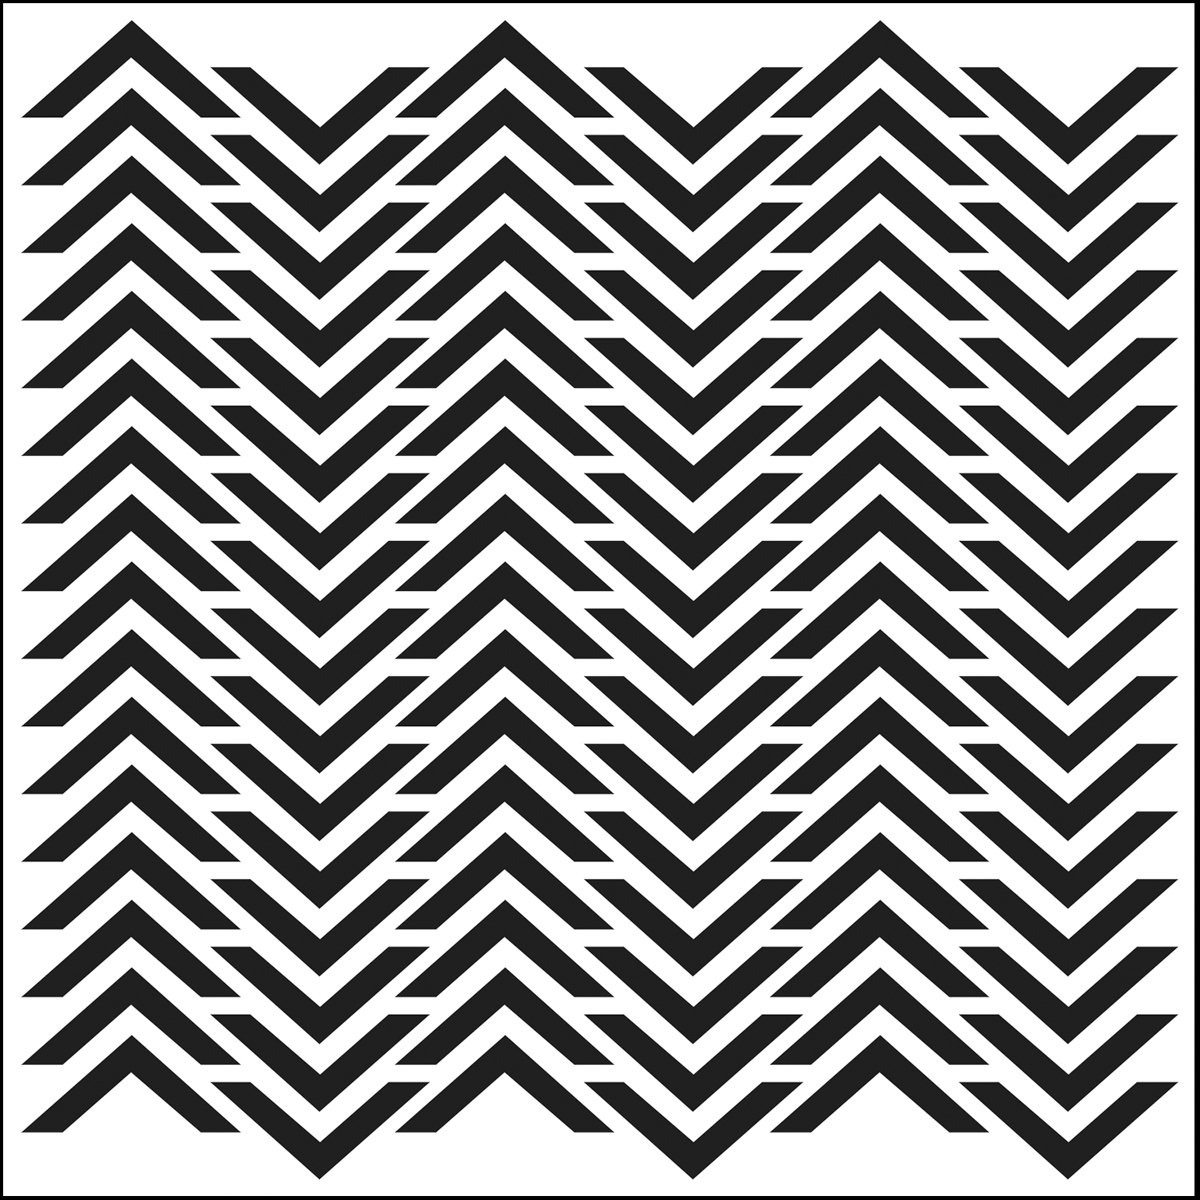
Now gather up some house hold times to add texture.  I used String, and disposable cups to create interesting shapes.  I also used The Crafter's Workshop Cheveron 12x12 stencil to create an interesting pattern. 


I also used die-cuts to create patterns on my prints

My go to backgrounds are:


You can print on most any surface.  I pulled a print onto a piece of muslin, that I later used to cover my little journal.  Our finished journal size was 4x4.  


I used a butterfly stamp and archival jet black ink on one of the prints to create butterflies.  Don't be afraid to stamp and fussy cut or use your print with your die-cuts to create interesting elements for your journal pages and collages.   Another print was used for the background of the first spread. Look at how they contrast of the ghosted print on the hymnal page looks against the 1st generation print used in the background.  SOOOOO FUN! 


Then I used an Uni-ball  Jetstream Bold Point 1.0 mm Black Pen to add my title and a few doodles.  This pen didn't even hesitate on this gel covered page.  It flowed so smooth and silky.  Highly recommend this!  I picked mine up at Target.


I also added a few splashes of color in the white spaces, and some shadows around my butterflies \ with my Faber-Castell Design Memory Craft® Stamper's Big Brush Artist Pens in Cold Grey, and May Green


In case you missed the class live, here is the recording: 


Since I couldn't finish up each page of the book in the allotted time for the class, I decided to use the remaining prints to create the other spreads throughout the month.  Visit this blog weekly in June, to see my new entries.  I will also continue to build one existing pages as the mood strikes me.  So it will be fun to see how everything evolves.

Thanks again for hanging out with me.  It was so much fun. Our next class is scheduled for July 6.  But I may do a Saturday Ustream again, sometime in the middle of June. I'll try and give a heads up if I do.

Tonya

Supplies:
  • 8x10 Gelli Arts® Plate
  • Plaid  Apple Barrel Acrylic Paint Various Colors, Kiwi, Yellow Fame, Pink Parfait, Jack O'Lantern, Bimini Blue. White, Black
  • Brayer
  • The Crafter's Workshop - Balzer Designs Chevron Stencil 12x12
  • String
  • Various Disposable Cups (in different sizes)
  • Die-Versions Whispers Background - Hexagons   
  • Die-Versions Whispers Background - Morocco
  • Cosmetic Sponge
  • Martha Stewart Butterfly Stamp
  • Faber-Castell Design Memory Craft® - Gel Medium
  • Faber-Castell Design Memory Craft® - Stamper's Big Brush Artist Pen - May Green
  • Faber-Castell Design Memory Craft® - Stamper's Big Brush Artist Pen - Cold Grey
  • Uni-ball Jetstream Bold 1.0 mm
  • White Geli Roll Pen
  • Various papers with patterns, textures and weights. I used hymnal pages, index cards, copy paper, book text, paper bag, newsprint (warranty printed paper), cardstock.  The variety gives interest to your prints. 
  • Tim Holtz - Sizzix  Block Talk Alphabet Upper Case
  • Tim Holtz - Stamper's Anonymous - Ultimate Grunge Stamp 
  • Ranger Ink, Archival Ink Pad - Jet Black
Read More »

Tuesday, May 5, 2015

May Ustream Re-Cap

0
Oh my goodness we had a blast last night.  We played around with some super simple watercolor and doodling techniques, and made these beautiful cards.


We discussed super simple methods for creating roses, rosebuds, and daisies.  Then we combined these into a floral swag.   Everyone was simply amazed at how easy it was to create these designs.

My best advice is don't over think it, and practice practice practice!

Also Note:   The products listed here, are products that I love and use often.  I have not been compensated by these companies to promote these items. 

For the show I used these supplies:

PAINTS


I have linked to Amazon, but I got mine from Michael's. 


PEN SUGGESTIONS:

Of course there are lots of pens on the market that are amazing, and perfect.  I am only going to talk about the ones that demoed last night.   I have the Microns and love them as well, so if you have them, use them!  Also remember that everyone writes different, and their hands are shaped differently. Left handed vs. Right handed makes a big difference too.  I am suggesting what works for me, but you need to experiment to find your perfect pen!


Here are the pens that I used last night:

I'm linking to Amazon for these, but I got this one at Office Depot


OMG - I LOVE THESE!   I used these after I turned the recording off. I wrote the Thank You then Water colored the blue in the background (see pic above).  They are water proof and smear proof almost the second you write.  I would set them with a heat gun just to make sure the fibers of the papers are dry before applying water.   


I'm linking to Amazon for these, but I got this one at JoAnns

This one is one of my favorite outline pens.  It writes the best over the water colors.   The line is kind of thick, but for this technique I'm good with it.  It has a great flow, and I found that I wanted to write with it when I tried it out.  This pen is truly the inspiration for tonight's show.  When I busted it out of the package, I couldn't stop scribbling with it.  I found that it is water proof, but only after I set it with the heat tool.   It takes a bit to dry before it is smear proof. 


I'm linking to Amazon for these, but I got this one at Office Depot

Sorry Sharpie - but I wasn't a fan.  It is water proof, and maybe if I were drawing before applying watercolor it would work better.  But I found it wanted to skip a lot on top of the watercolor.  To be fair though - I was rushing the process and maybe the surface of my paper appeared dry but really wasn't.  I'll test this theory out on some doodles that were made in advance before I pass judgement.  I did use this pen for the first 30 mins or so in the show, so you can see for yourself. 

CARDSTOCK:
In addition to these supplies, I also used 110lb Standard Cardstock.   I would avoid watercolor paper if you plan to doodle.  The texture in the paper may cause issues with sketches. The GP brand paper at Wal-Mart is PERFECT!

We also discussed using a template to practice your hand lettering techniques.  

HAND LETTERING TIP:

I recommend opening your word processor (Word) and type the word you would like to appear on your card, then write the several times down the page, in the font you would like to duplicate.  I chose a soft grey color for the font color.  Place as many of these on the page as will fit.   Do different sizes if you wish.  Then print them out.  This will be your practice sheet.  Trace over the letter shapes until you develop a muscle memory and the lettering techniques become second nature.  

I have created a sample using the word Happy Birthday.  In this example I have used several different fonts for you to practice your handwriting skills. 

Here are a sample with multiple font styles
click on the image to open, then print.


 Here is a sample with one font style.
click on the image to open, then print.


Just print these out and write them, until your brain can tell your hand how to do it!   Practice Practice Practice  is the best advice I have.  Try making your own for sentiments you use a lot.


Here is the recording if you missed the show live: 


Here are a few other cards that I created when prepping for the show:


Thanks again for coming to the show live last night, and hanging out for the post - show!   I had a great time with our "Creative Play Time"  and I hope you guys did too!   Best of all I got to meet a few new friends.  


If you try these out, please please please share them with me!   I would love to see what you create.   Tag me on Facebook, Instagram or Twitter, and don't forget to #FollowingTonyaGibbs

Our next class will be June 2 at 8:30 p.m. EST. 


Read More »

Sunday, January 4, 2015

CHA Travel Journal

6


Hi everyone, I'm excited about my upcoming trip to CHA.  I absolutely love going and meeting new friends, hanging out with old friends and seeing all the yummy new products about to release.   I have created this awesome journal to capture my travel plans, photos from the show, make and takes, notes and contacts.


Books like this help me to keep everything together.  I started out using an Mini Avery Notebook  that is about 5.5 x 8.5 inches.  I found mine at WalMart in the office supply section. This is the perfect size, because it fits in my purse and isn't too bulky.   I love the three ring system, so that I can easily shift things around in my book.  


To alter the notebook I used Teresa Collins Designs Nine & Co. collection


Here are some photos of the album: 


On the cover I also included Flower Bouquet Silhouette Cameo Cut, and on the inside I used the  3 bracket File Folders for dividers on the inside of the book. 


I used created my own pocket pages by cutting down page protectors and sewing them with Gold thread.  


I also used glassine bags for pockets in the book. 


I created additional storage by using 5.75 x 8.75  inch envelopes and trimmed the top off to create a pocket page.  


I used the file folders from the collection as pages in the book, by cutting them in half. 


Gold glitter washi tape was added through out the book for added detail. 


I sewed all of the sticker labels down with gold thread.
 I also added a fun pocket for tags and added some sequins in the middle.  


 Binder clips and paper clips are always handy in book like this.
Here I have used one to keep my tag from flopping around.


I plan to use these tags for photos and journal spots. I may make more of the sheet protectors when I return and tuck them into the finished book. 


I kept all of my loose leaf paper in the back of the binder, so that It is easy to write my notes.  The back pocket is a great additional storage area as well. 


Here is a video walk through of the album. 


If you  are planning to attend CHA look for me!  I would love to meet you. 

Thanks for stopping in today, 

Tonya
Read More »
I love seeing things you create using my tutorials or project shares. Please use the following handles/tags in social media to insure that I get to see your creations:

INSTAGRAM: #FollowingTonyaGibbs    |   TWITTER:  @gibbst    #FollowingTonyaGibbs   |      FACEBOOK:Tag  Tonya Gibbs   #FollowingTonyaGibbs

I Design for:

    http://www.yvonneblair.com

Guest Artist: Click icon to see post!

http://www.teresacollinsdesignteam.blogspot.com/2013/10/family-stories-layout-and-video-by.html#comment-form   http://canvascorp.com/2013/03/21/easter-treat-baskets/


Past Teams

http://www.die-namites.com/     marion