Follow Me...

       
Thanks for stopping by! Don't forget to subscribe!

Wednesday, February 29, 2012

Help Wanted Card

0
Ok it is time to start clearing the scraps waiting for CHA new releases. I had pre-colored this image from the Hope & Grace Luandry collection from The Greeting Farm. She is stamped on Cryogen paper. I thought she was beautifully colored to match the paper scraps from a Flamingo 5 Dear Lizzy Paper that I did last year. I used the back side of the patterned paper to cut the loopy oval frame around the image.


From Flamingo Scraps: Seam Binding, Glimmer Mist, Patterned Paper: Dear Lizzy, Lace.
Other: Pearls, Spellbinders Loopy oval die cut, The Greeting Farm: Hope & Grace Laundry, Copics, Cardstock, EK Success Label Punch


After I fussy cut her out, I used one of my EK Success Label punches with the scraps of the cryogen paper (love the sparkles in this paper), and cut it in half length wise to make a tab/sign. Then I hand drew the "Help Wanted". I used my glimmer mists to add color to the little clothes pin. Then I finished off the card, by taking apart a mulberry flower to create 3 separate flowers. I then used buttons with seam bind scraps as flower centers.

This entire card was made from little scraps on my desk. LOVE IT!

Thanks for stopping in today,

Read More »

Thursday, February 16, 2012

My Valentine

0
So I'm sitting in my craft room the other day finishing a project and my Son walks in, puts his arms around me and says "Mommy will you be my Valentine?" without blinking or even the slightest hesitation I said "YES - OF COURSE - FOREVER!" About 10 mins later, I get a notification of a note on my Facebook wall - He had posted the sweetest note about me being the only true love of his life! HELLO - I don't need to tell any of you how I felt, but after I quit crying all over my keyboard - I was floating on air!

The next day - Valentine's Day - he walks in with this paper heart that he had written in Spanish class. Before the details of the past few days escaped me - I wanted to create a layout.

Bazzil Cardstock: maroon; My Mind's Eye: patterned paper; Glimmer Mist: Poppy Seed & Antique Brass; Marion Smith Designs: Dital Paper - Jan day 29 & Envelope - February Day 7; Webster's Pages: Pink Bloomers; Maya Road: Love & Heart chipboard pieces; Karls001: Butterfly Kisses Flowers (Crystal), wheat flowers in pink; Prima: Mask - Floral Frenzy, Cabbage Rosebuds, and Miniature Roses; Crocheted Lace, Pearls.


The background paper says I Love You all over it and is vintage My Mind's Eye. I decided to dress it up a bit with my Glimmer sprays and the Floral Frenzy screen from Prima.

A closer look shows that I used Marion's digital downloads on my layout. In Spot 1, I used the January Day 29 download to mat the image, and in Spot 2, I used February's Day 7 envelope to house the note off my Facebook Wall.


Here is a closer look at the collage of embellies flanking the bottom of the picture. I love how the crystal flowers fill the space, but still allow the pattern of the paper and sprays to filter through.


I know one thing - this boy sure has my heart in the palm of his hand. No matter how old you get - your Momma will always be your Valentine!

I don't know about you - but I think you can never have too many paper hearts!

Thanks for stopping in today,
Tonya Gibbs
http://www.psychomoms.com
Read More »

Wednesday, January 25, 2012

Valentine's Cards - for Cancer

0
I have a friend, Liz, who was hosting a Valentine Day Card drive to send to kids who suffer from Cancer. She wanted to be able to bring a smile to their cute faces. She asked each of us to do 2 cards, and here are mine.

From Flamingo Scraps: Fancy Pants Designs: It's The Little Things - Headed South; Prima: Fairy Tale roses white, and mini roses - white. Other: Greeting Farm Flutter Anya, Copic Markers, Studio G: Hug Coupon, Bling, Kraft Cardstock, Making Memories: Lace; Tim Holtz: Ticket Die, and Ticket Stamp from 100 Stamp Collection.


I wanted my cards to be themed around love but not the same traditional Valentine’s Day icons of Red and Pink. So I chose Fancy Pants “It’s the Little Things – Headed South” paper. It has these cute I love you stamps and post marks everywhere. There are still a few sheets of it left in the store if you like to use it on your Valentine's Day projects.


I designed the cards like an easle card so that they could be viewed from a dresser or table top. I stitched around the edges for interest and used my Greeting Farm Flutter Anya stamp as the focal point. I love that I can change the look of the image by simply coloring her a different color. Since these cards will be hand delivered, I used the Prima FairyTale Roses and Mini Roses as the easle prop.


Thanks for stopping in today,

Read More »

Sunday, January 8, 2012

Eiffel Tower Mini

0
Eiffel Tower Mini with Pion Designs Paper & My Teddy Boo's Chipboard designs. WOW - I had a lot of fun working on this project. Amy, My Teddyboo.com, sent me this Eiffel tower mini kit which included the tower pages, a large tower cut, a large Fleur de lis, and a small tower and Fleur de lis. The Pion Studio of Memories paper was absolutely perfect for this album. It was like the two were made for each other. Below I have a complete walk through of the project. To view a Large image slideshow, please click here.Add Image


Read More »

Friday, January 6, 2012

Desktop Calendar

0


When I got my hands on this paper collection, I knew I wanted to make something that would be cherished for a long time. I love Amy's Hot Air Ballon, and I decided to combine the two designs and make a desktop calendar that could be used through out the year. When the year is over you could simply replace the calendars with a photograph or business cards to enjoy for many more years to come.

Here is a step by step walk through of this project:


As a special thank you to my followers, I wanted to give you the calendar as a free download. I would love to see what you create with these calendars, please forward your projects to me as a private message on Youtube, or by email.

Download 2012 Calendar  |   Teddyboo.com  |  Pion Designs
Read More »

Thursday, January 5, 2012

Pion Designs Thinking of you Card

0


I created this card today using the scraps from the Tower Mini and the Calendar. I am so in love with this Pion Designs paper. For the card, I used some silk ribbon to anchor the layered scraps from the collection. I cut the Hearts from the scraps as well. The baby photo is a tag in their paper collection. It was longer than the card, so I foldeded it and tucked the bottom edge into a glassine bag. I think this gives the layout a nice "vintage" feel.

I love cards that can be used for multiple purposes, and I think this one would make a perfect "new baby" card or "thinking of you".

I have had a great time playing with the Pion Design's Paper. I hope you visit their store and blog for additional ideas and to purchase.

Read More »

Sunday, December 18, 2011

From Scrappy Mess to Masterpiece

0
Some serious Holiday crafting has been going on in my room the last few weeks. Between Tim's 12 tags of Christmas, Cards, and some last minute gifts, I have had scraps up to my elbows. I wanted to share with you guys today a tip for turning those scraps into a work of Art.


Read More »

Tuesday, December 13, 2011

Tim Holtz 12 Tags of Christmas - 2011

0
For the 5th year Tim Holtz is hosting the 12 Tags of Christmas. This year I have decided to follow along as much as I can. To follow along yourself, please visit Tim's blog. Visit my YouTube Channel for a daily walk through of my tags.

LOADING FILES TO YOUR GYPSY:

Connect your Gypsy to your computer (USB cable) and turn it on then open Cricut Sync. Cricut Sync automatically searches for an update for your Gypsy. If your Gypsy is up to date, you will receive a message stating it is up to date, click "Ok" and a Gypsy Projects list will appear. From there, click on "Add Projects" and choose the file.


December 12, 2011
It is sad to see this series come to an end. But wow - it was fun. I learned some new technqiues and enjoyed the challenge of Not having 'everything' needed. On today's tag - I didn't have the 12" tissue tape - so I stamped my image on tissue paper and applied it to the surface of the tag. I love this look, and again you will see me using this technique again. Thank you guys for following me along on my creative journey with Tim this year.


Here is Tim's Tag
Tim's Version Day 12
Here is my tag
Day 12


December 11, 2011
I wish I had the glossy paper for this tag. I improvised and used "photo paper". Photo Paper is not the same as the Ranger Glossy paper. Photopaper is designed to absorb ink while Rangers is designed to repel it. So there were different reactions, but I wanted the "glossy" finish. I also added Glossy Accents to my "Merry Christmas". It was fun working with this tag because I never in a million years would have thought to use my melting pot with the shrink plastic - I loved the effect, and will definately be trying this again in future projects.

Here is Tim's Tag

Tim's Version Day 11
Here is My tag
Day 11


December 10, 2011
Today's tag was fairly easy. I didn't have the plastic letters, banner die, or the stamps. But I think this one turned out pretty good!

Here is Tim's Tag
Tim's Version Day 10
Here is my tag
Day 10


December 9, 2011
Today I was excited to share my journey with my 4 yr old nephew Cooper. He said "Aunt Tonya you have the coolest toys." And I believe he is right!

I used a stamp from Anna Griffin for the background and did the technique that Tim demonstrated. It is really cool because it has a nice orange peel texture to it. I didn't have the candlestick so I decided to use the lamp post and I think I really like that better.

Here is Tim's Tag
Tim's Version Day 9
Here is my tag
Day  9


December 8, 2011

I was excited I had about 90% of the things Tim used in this tag. There were a lot of steps to this one, but it was a lot of fun, and I also loved the "steampunk" theme too!

I hand drew the architectural drawing in the white to match the one on the stamp, I substituted a ticket that Tim had given me in a class for the one on the original (I didn't have the stamp), and No red stickles so I used a red bling instead, and I used Lost & Found's Hand.

Here is Tim's Tag
Tim's Version Day 8
Here is my tag
My Day 8


December 7, 2011
Well, on this tag I was missing all the stamps and the Kraft Glassine. I used a wax kraft bag that is often used to line trashcans. I will admit it was thinner and not as waxy as the Glassine that Tim sells, and but it worked in a pinch!

Here is Tim's Tag
Tim's Version Day 6
Here is my tag
My Day 7

December 6, 2011
Today I didn't have the embossing folder. So I did the embossing the Old fashion way - with a stylus.
Here is Tim's Tag
Tim's Version Day 6
Here is my tag
My Day 6


December 5, 2011
Today, was easy peasy.
Here is Tim's Tag
Tim's Version Day 5
Here is my tag
My Day 5


December 4, 2011
Today, I was challenged to find a way to create the 25 in the center of the snowman and the Snowflake on the edge die. Also - I was missing the weathered wood distress ink and stain, and the stamps that Tim used. I had stamps that were similar so I used them. For the 25 I die cut the snowman, then added him to my Cricut Cutting mat, and cut the 25 from the Basecamp Cartride. I create the snowflake on the ege die using my cricut and the George and Christmas cartridge. You can download these files here:

(Right click and Save as).
Download Gypsy File the 25 Download Gypsy File Snowflake on the Edge


Here is Tim's Tag
Tim's Version Day 4
Here is my tag
My Day 4


December 3, 2011
Today, I was challenged to find a way to create the embossed look without the embossing folder. I decided to emboss my design with the embossing powders like yesterday's tag. Also - again no Hollyday die or coordinations paper. But I found a way to duplicate the look of the coordinations paper. I show how to do this technique on my YouTube channel.

Here is Tim's Tag
Tim's Version Day 3
Here is my tag
My Day 3


December 2, 2011
Today's tag was even harder than yesterdays. I spent the entire day thinking "oh no - he used his kraft resist holiday paper - I don't have it". Well I improvised using my Photoshop skills. Also - I didn't have the charm for the top so I used the imagine token instead. I hope you enjoy...

Here is Tim's Tag
Tim's Version Day 2
Here is my tag
My Day 2


December 1, 2011
Today's tag was a killer for me. I only had the bobbles, seam binding, and pinecone die. I really had to think creatively to make this tag resemble Tim's version. Tim suggested that we use what we have on hand. Don't spend additional money if possible. I think this really helps to expand the creative process.
(Right click and save file as)
Download the "Noel" Gypsy File


Here is Tim's Tag
Tim's Version Day 1
Here is my tag
My Day 1


In my version - I mounted a blue cardstock to chipboard, then embossed it with a cuttlebug jacket that had flowers and swirls on it. I then cut Tim's snowflake dies from the colored cardstock, then embossed it with a clear halographic glitter, and placed them ontop of the flowers that were on the embossed design. I created the Noel using the Blackletter Cartridge and my Gypsy. I cut the word from chipboard then embossed it with silver and covered that with fine clear glitter. (I didn't have silver glitter, because I don't care for the look of glitter. I thought this was a great compromise. I also didn't have the holiday flourish spray die that Tim used for the flower swag. So I used the Holly branch, and the holly from the lamp post die. I didn't have the banner either so I took a strip of music scrap paper, and tore the ends to resemble the banner, and distressed all the edges.

I know mine doesn't have the same "dirty distressed look" that Tim's has, but I'm super proud that I was able to achieve a similar tag without spending any money. I can't wait to see what tomorrow's tag looks like.
Read More »

Thursday, October 6, 2011

Steampunk Mini Album

0
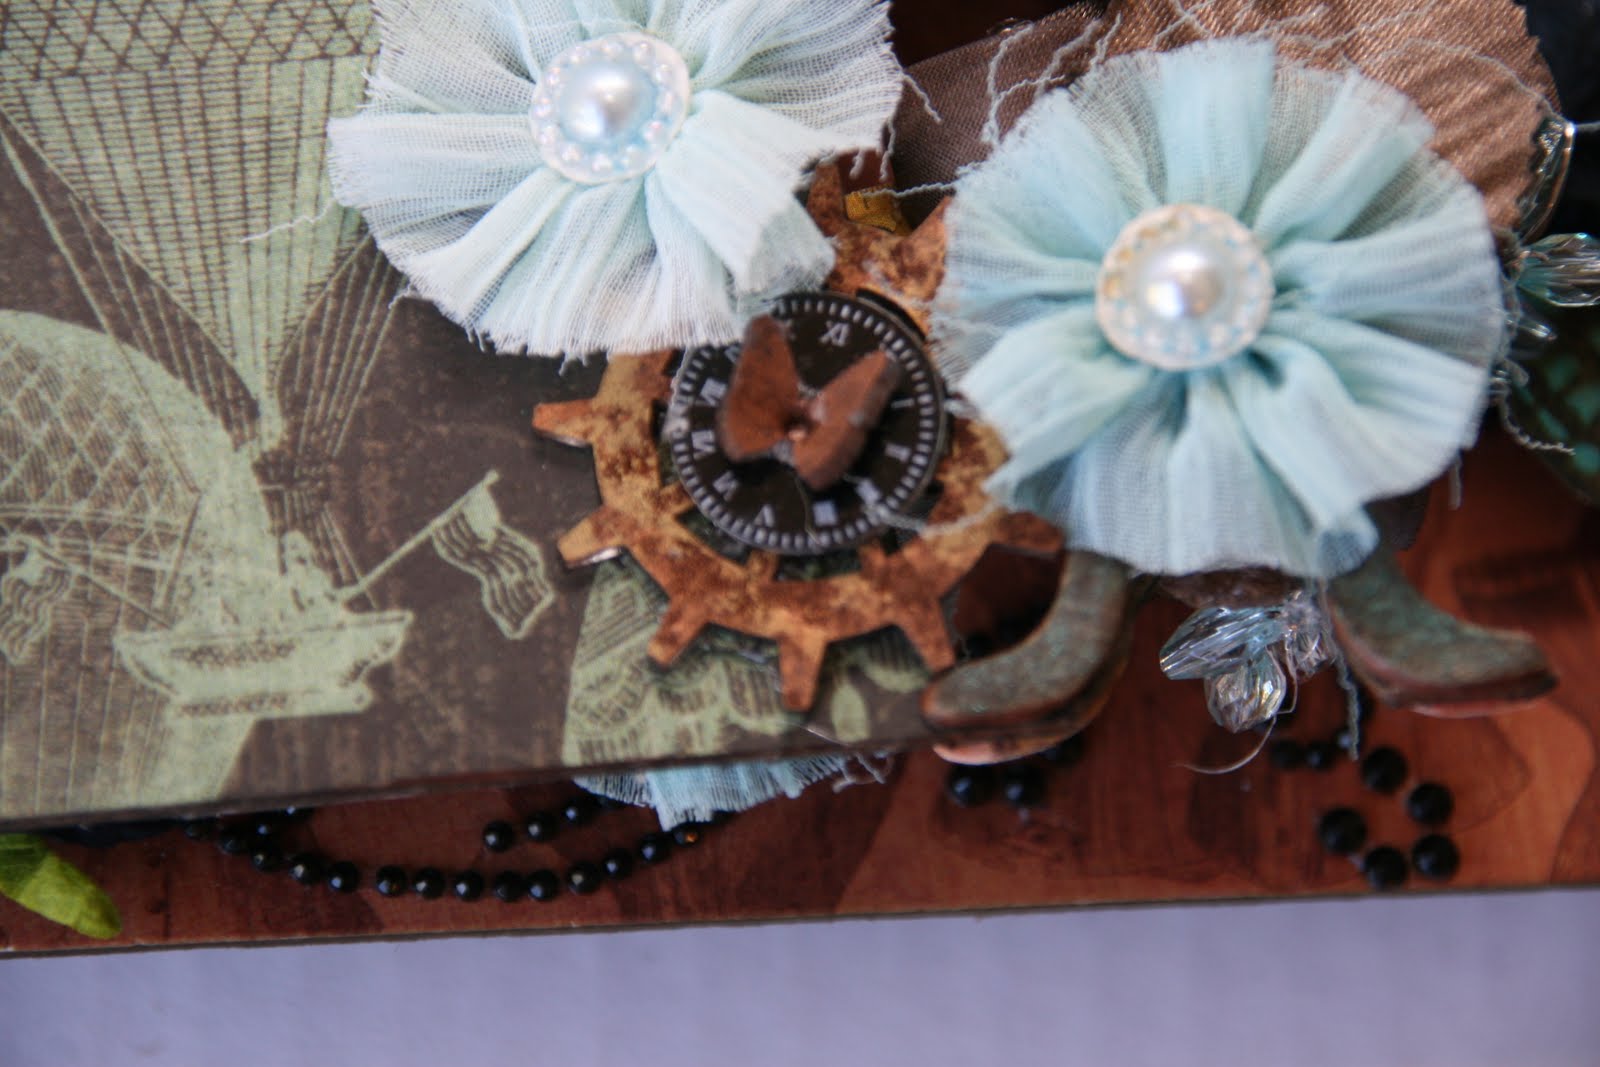
My good friend, Amy Rodriguez, designs unique mini album dies and has shared her Hot Air Balloon and Dress Form Dies with me. I was so excited to get the opportunity to play with these dies. I wanted to share with you guys today the mini that I created.

From day one I knew I would use the Steampunk Debutant Line from Graphic 45 on this mini. I wanted it to be tiered so that behind every dressform there was a hot air balloon. I also wanted the pages to be vibrant, elegant, but most of all interactive!


Here is a video with a complete walk through of the concepts and details on each page.

Thanks for stoping by today,
Tonya Gibbs
http://www.psychomoms.com
Read More »
I love seeing things you create using my tutorials or project shares. Please use the following handles/tags in social media to insure that I get to see your creations:

INSTAGRAM: #FollowingTonyaGibbs    |   TWITTER:  @gibbst    #FollowingTonyaGibbs   |      FACEBOOK:Tag  Tonya Gibbs   #FollowingTonyaGibbs

I Design for:

    http://www.yvonneblair.com

Guest Artist: Click icon to see post!

http://www.teresacollinsdesignteam.blogspot.com/2013/10/family-stories-layout-and-video-by.html#comment-form   http://canvascorp.com/2013/03/21/easter-treat-baskets/


Past Teams

http://www.die-namites.com/     marion